Table of Contents
A. General Information
A. Dotnetnuke Information
To install this skin you must have a working version of Dotnetnuke already installed. If you need help installing Dotnetnuke, follow the instructions in Video-Library. Below are all the useful links for Dotnetnuke information.
- How to install a Skin in DotNetNuke 7
- How to install a Module in DotNetNuke 7
- How to move a module in DotNetNuke 7
- Introduction to the DNN 7 Control Panel
- How to add a page in DotNetNuke 7
B. What Is Included With Your Package
When you purchase our theme from DNN Store, you will receive one large .zip file that contains everything inside. Unzip that file to get all the content inside. Below is a full list of everything that is included along with a brief description of each item. See the corresponding sections for info on installing the theme.
- Inside the Content folder is: DNN Skins folder, DNNGo_DNNGallery Module folder, DNNGo_PhotoAlbums Module folder, DNNGo_PowerForms Module folder, DNNGo_StyleSwicth Module folder, DNNGo_xBlog Module folder, GoMenu folder, PSD folder, Page template.
- DNN Skins folder - The skin in this folder can be used in DNN6.x and DNN 7.x only.
- DNNGo_DNNGallery Module folder - This module contains five image rotatings, which are Effect_08_TransBanner, Effect_13_UnoSlider, Effect_19_Portfolio, Effect_20_PhotoGallery and Effect_21_LinkAndZoom.
- DNNGo_PhotoAlbums folder - You can see this module in Portfolios page.
- DNNGo_PowerForms folder - You can create forms through this module.
- DNNGo_xBlog Module folder - You can see this module on Blog page.
- Page template folder - Exported page templates will allow you to reproduce our live demo pages.
C. What Are The Requirements To Use skins and modules
To use skins and modules, you must be running DNN 6.x or higher. We have tested it with DNN6.x and DNN7.x.
B. Skin and Required Modules Installation
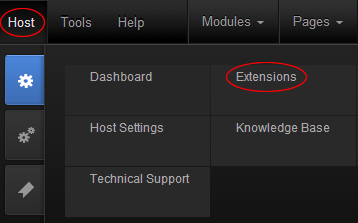
- Go to Host –> Extensions –> Install Extension wizard to install the module pack DNNGo_GoMenu_01.02.02_PA.zip
- Go to Host –> Extensions –> Install Extension wizard to install the module pack DNNGo_StyleSwicth_01.01.00_PA.zip
- Go to Host –> Extensions –> Install Extension wizard to install the skin pack 20044-UnlimitedColorPack-030-DNN6&7.zip
- After the installation has been completed, navigate to Admin –> Site Settings –> Basic Settings (tab) –> Appearance (section) and specify portal and edit skins and containers like shown in the screenshot below. It should be done, in order to make your DNN admin UI look correct and readable. Click “Update” button.
- Now you can upload the LOGO image in Admin –> Site Settings –> Basic Settings (tab) –> Appearance (section) page.

C. DNNGo_StyleSwitch Module
This module allows the administrator to customize the style of the website.
- Login to the site with host account.
- click the icon on the very left of the skin.
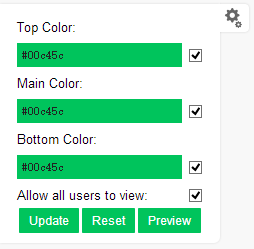
- Click Edit Global Style button.
- The administrator can change the color of skin.
- Click Update button to save the changes. The skin color will switch to the saved one when accessing the site.
- Reset is used to restore the default color scheme.
- Common users are also able to customize the color when Allow all users to view is checked, but changes made by common users will only be saved in Cookie, which will not affect other users.
- Allow all users to view - Non-admin won't see this module if this option is unchecked.
D. DNNGo_Gallery Module
This module contains five image rotatings, which are Effect_08_TransBanner, Effect_13_UnoSlider, Effect_19_Portfolio, Effect_20_PhotoGallery and Effect_21_LinkAndZoom.
- Go to Host –> Extensions –> Install Extension wizard to install the module pack DNNGo_DNNGallery_02.05.03_PA.zip.
- Add DNNGo_DNNGallery module to the page.
- Click Effect List tab.
- Choose an effect you like.
D1. Effect_08_TransBanner
Click this link to check the demo page for this effect, we will guide you how to use this module step by step as below:
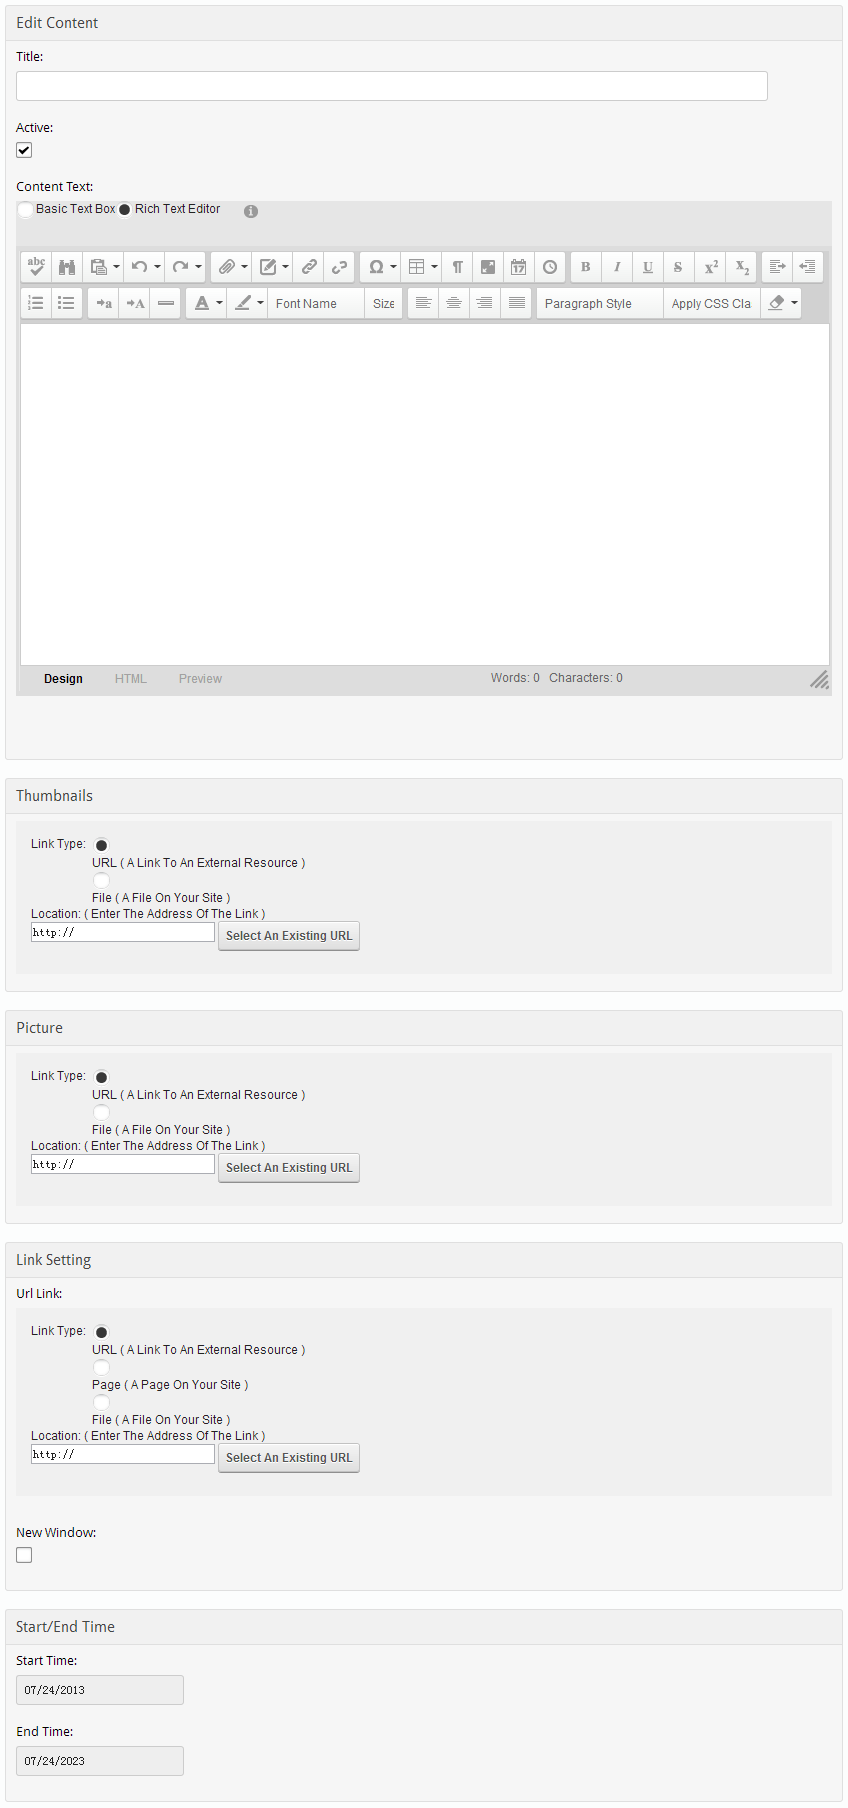
- Click New Item to add a slider item.
- Title - You must fill in title here.
- Description - You can fill in some description or nothing here.
- Picture - You must upload a background image here.
- Link Setting - You can add a link to the image, check the checkbox of New Window, then this link will open in a new window on click.
- Basic Options - You can set different parameters for each item.
- Manage List - Allow the administrator to manage and sort the added items.
- Import/Export - You can import/export the data conveniently.
- Effect Options - You can set up the module width, animation effect and animation time.
D2. Effect_13_UnoSlider
You can see this module in the banner section on the home page, we will guide you step by step to set up the module as the same as our demo site:
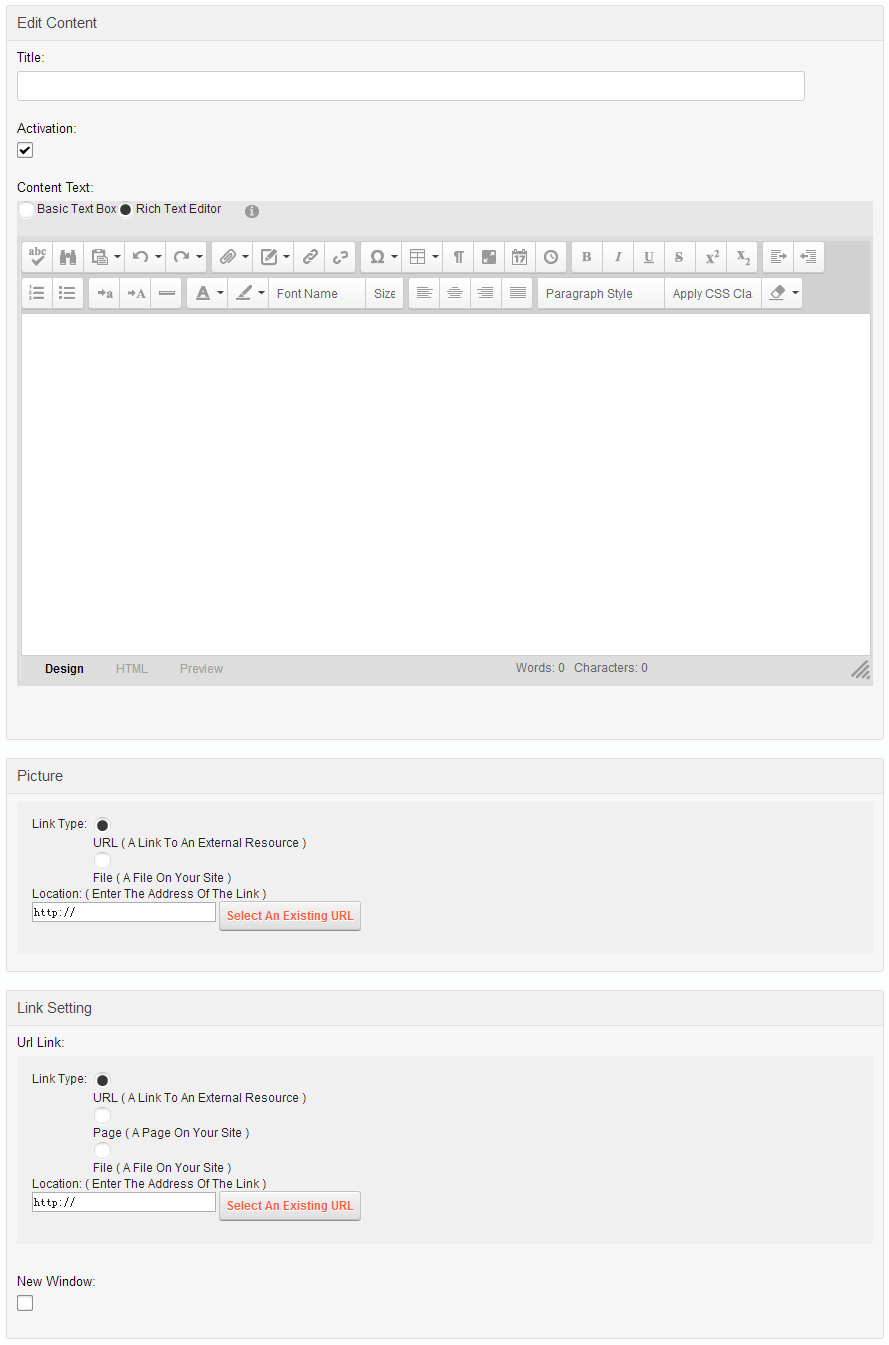
- Click New Item to add a slider item.
- Title - You must fill in title here.
- Content Text - You can fill in some description or nothing here.
- Picture - You must upload a background image here.
- Link Setting - You can add a link to the image, check the checkbox of New Window, then this link will open in a new window on click.
- Manage List - Allow the administrator to manage and sort the added items.
- Import/Export - You can import/export the data conveniently.
- Effect Options - This module contains a larger number of themes which could be chosen as you like to match with the skin. You can set up the module width, animation effect and animation time.
D3. Effect_19_Portfolio
Click this link to check the demo page for this effect, we will guide you how to use this module step by step as below:
A. Add new category.
- Click Manager button.
- Click Effect Options button.
- Enter category names in Categories, separated by comma for multiple categories.
B. Add new image.
- Click New Item button.
- Title - You must fill in title here. It will show at the bottom of large image.
- Description - You can fill in some description or nothing here.
- Picture - You need to upload a larger image here, the thumbnail and large image could be the same one.
- Link Setting - You can add a link to the image, check the checkbox of New Window, then this link will open in a new window on click.
- Categories - You can assign one or multiple categories to the images, separated by comma for multiple categories.
D4. Effect_20_PhotoGallery
You can see this module in the Photo Gallery section on the home page, we will guide you how to use this module step by step as below:
- Click New Item button.
- Title - You must fill in title here. It will show at the bottom of large image.
- Thumbnails - You need to upload a thumbnail here.
- Picture - You need to upload a larger image here, the thumbnail and large image could be the same one.
- Link Setting - You can add a link to the image, check the checkbox of New Window, then this link will open in a new window on click.
- Manage List - Allow the administrator to manage and sort the added items.
- Import/Export - You can import/export the data conveniently.
- Effect Options - You can set up the module width, animation effect and animation time.
D5. Effect_21_LinkAndZoom
Click this link to check the demo page for this effect, we will guide you how to use this module step by step as below:
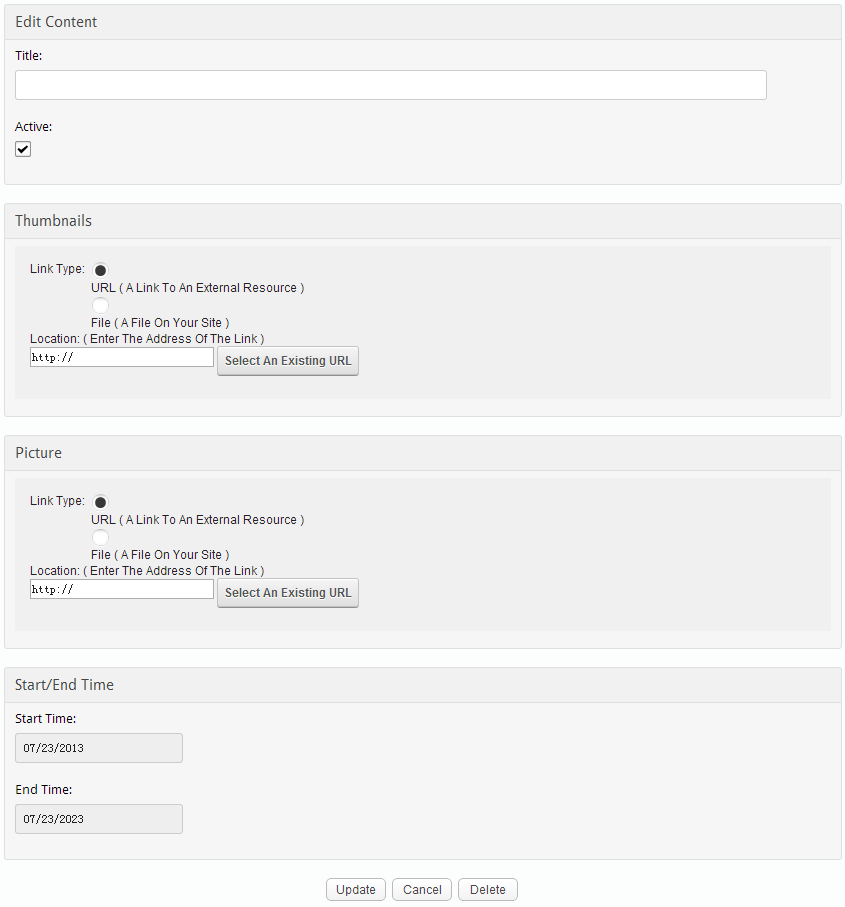
- Click New Item button.
- Title - You must fill in title here.. It will show at the bottom of large image.
- Content Text - You can fill in some description or nothing here.
- Thumbnails - You need to upload a thumbnail here.
- Picture - You need to upload a larger image here, the thumbnail and large image could be the same one.
- Link Setting - You can add a link to the image, check the checkbox of New Window, then this link will open in a new window on click.
- Manage List - Allow the administrator to manage and sort the added items.
- Import/Export - You can import/export the data conveniently.
- Effect Options - You can set up the module width, animation effect and animation time.
E. DNNGo_xBlog Module
We use this module on the blog page, click this link so you can check the module instruction details.
F. DNNGo_PhotoAlbums Module
We use this module on the Portfolios page, click this link so you can check the module instruction details.
G. DNNGo_PowerForms Module
You can create the form through this module, click this link so you can check the module instruction details.
H. Page templates
Exported page templates will allow you to reproduce our live demo pages. We’ll reproduce the home page as an example.
- You can find these files in Page Templates.
- Upload Home-template file into your portal root (e.g. Portals/0/Templates/) in the previous chapter and synchronize your folders so you are able to start using page templates to clone live demo pages.
- Upload all the photo files of the "images" folder into your portal root (e.g. Portals/0/).
- Navigate to the Home page and click Pages -> Import.
- Find a proper page exported content file navigating to Templates folder and choosing for example Home page.
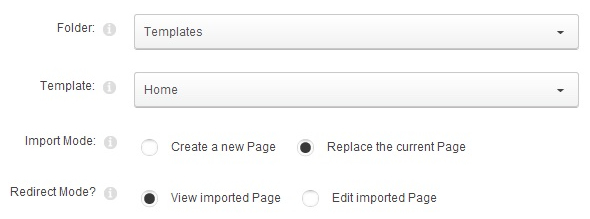
- Choose “Replace the current Page” and the redirect mode you need.
- Click Import button if everything is correct.
- Specify page settings according to your needs (necessarily apply HomePage skin to the home page) and click “Update Page”. The home page is ready.
I. Set Up Google Map
You can create Google Map easily following these steps:
- Add this code to HTML module: <div id="gmap"></div>
- To change google map settings, open <skin root>/js/custom.js file for editing.
- Find this code:
- Change "Bear city, ny" in address attribute to the desired one. Change address for the marker too.
- Markers attribute contains a list of points marked on the map. Every entry may include the following properties:
address: Address where the marker will be drawn
html: Content that will be shown within the info window for this marker. (Default: "")
popup: If true the info window for this marker will be shown when the map finished loading (Default: false) - You can add several markers to the map. See the example below:
J. License interface
- Please login or register your account at http://www.dnngo.net
- Send an email to dnnskindev@gmail.com with your invoice ID, machine Key for every module( different modules have different machine keys), and your DNNgo username. We will generate an activation code for you. Please note: If your site is a demo site, your license will still be valid when you transfer your site to a live site.
- Manage my licenses
K. Contact Us
If you have any questions or suggestions about modules/skins or modules/skins installation process, please feel free to contact us.
- Website: www.dnngo.net
- Email: dnnskindev@gmail.com
- Skype: dnngo-linda